Complete Configuration Plan
Build a food lab that is safe, fast, and compliant. This guide shows clear steps. It uses simple words. It also adds smooth transitions for easy reading.
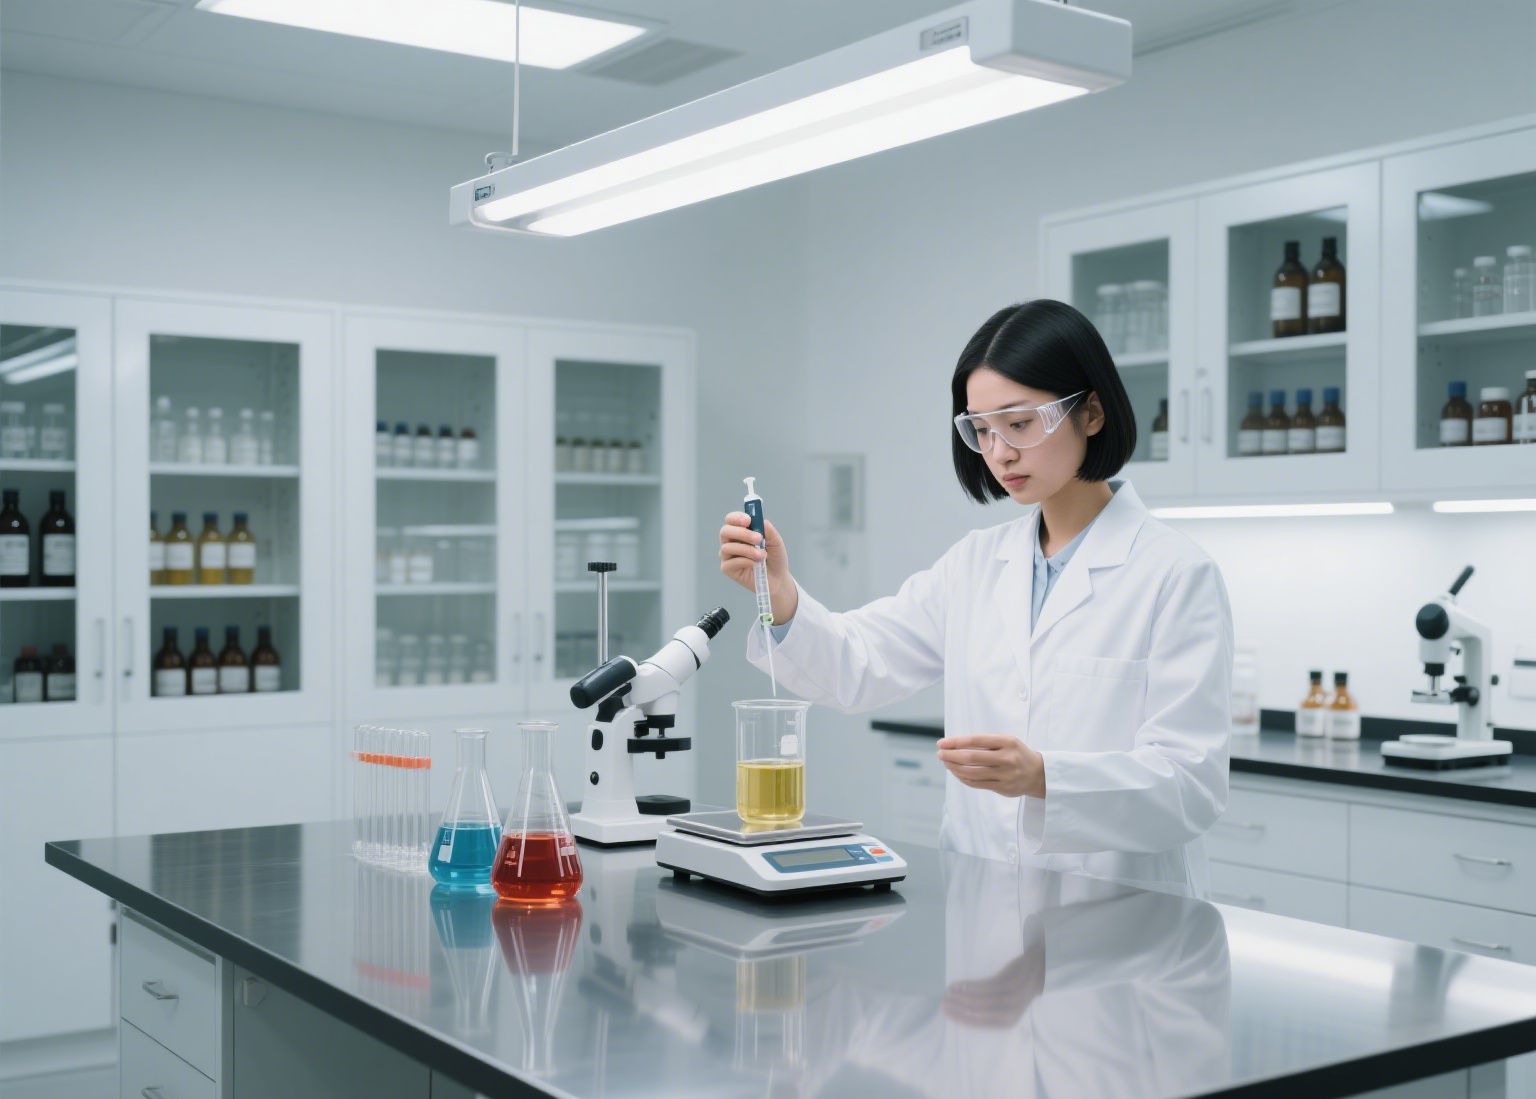
1) Layout and Zoning
First, split the space by risk and task. Then, guide flow from dirty to clean.
- Sample Receiving → log, label, and store.
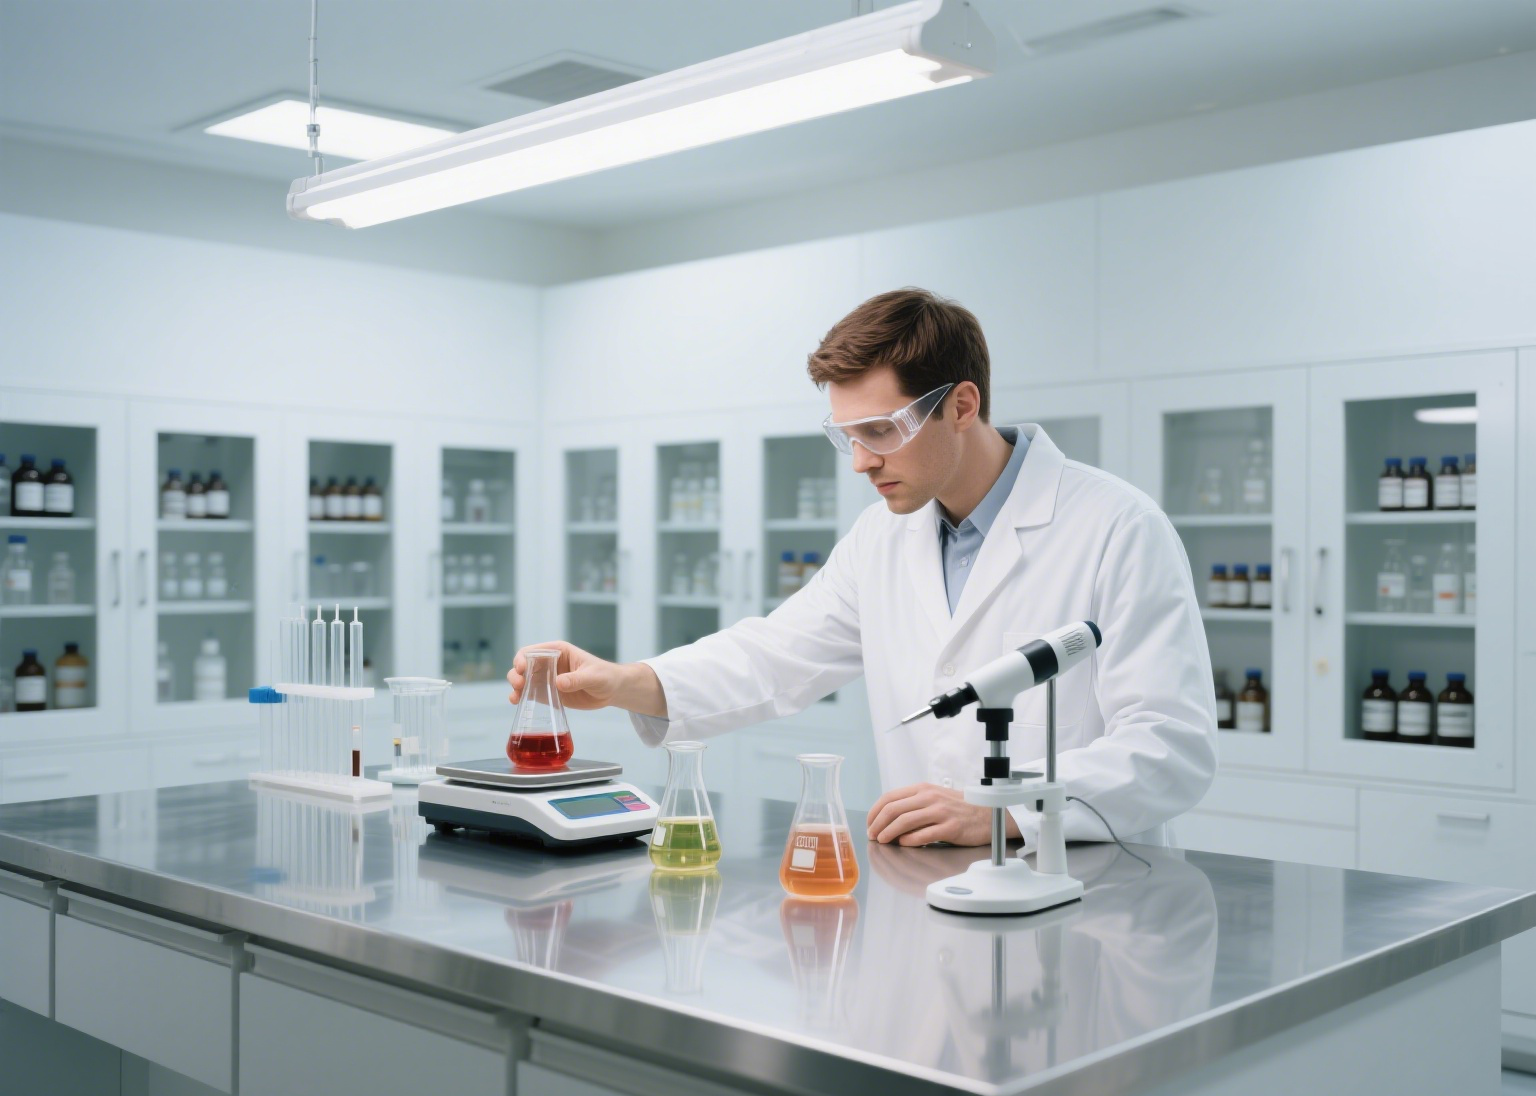
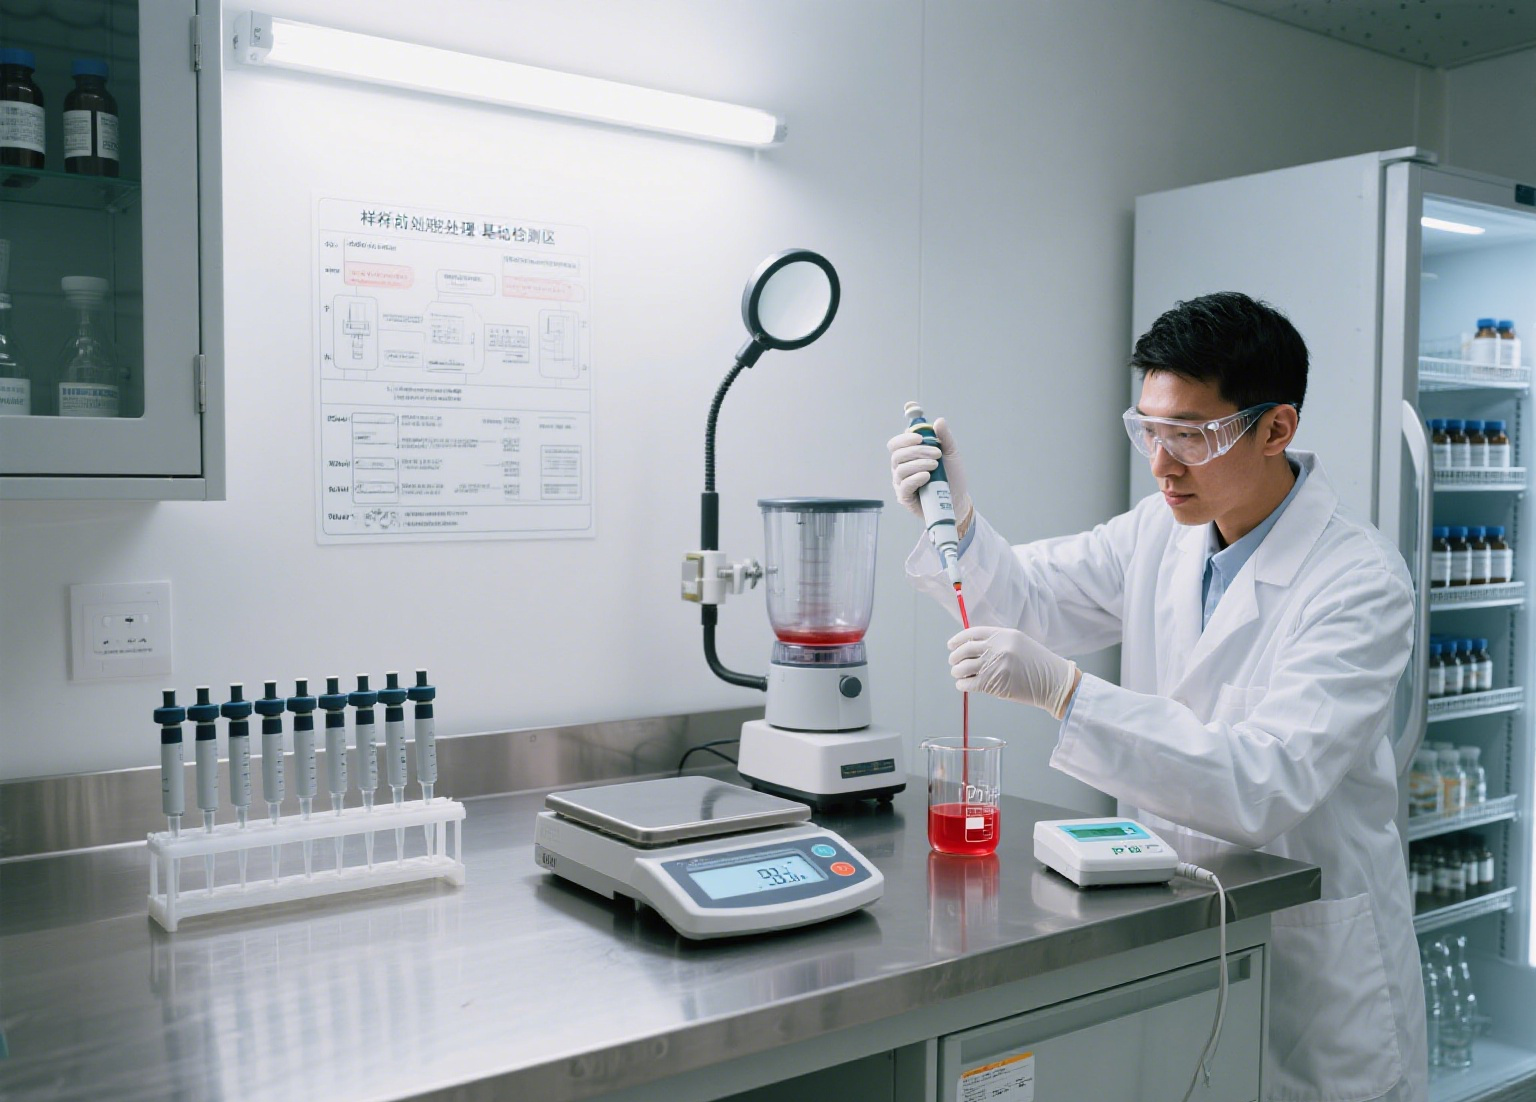
- Prep Area → grind, mix, and dilute.
- Microbiology Zone → BSC, incubators, colony counter.
- Chemistry Zone → GC, HPLC, UV-Vis, titration.
- Physical Tests → pH, °Brix, viscosity, texture.
- Cold & Dry Storage → samples, reagents, media.
As a result, cross-contamination drops. Moreover, staff move less and work faster.
2) Essential Equipment
Choose robust tools. Keep calibration simple. Then, add capacity as you grow.
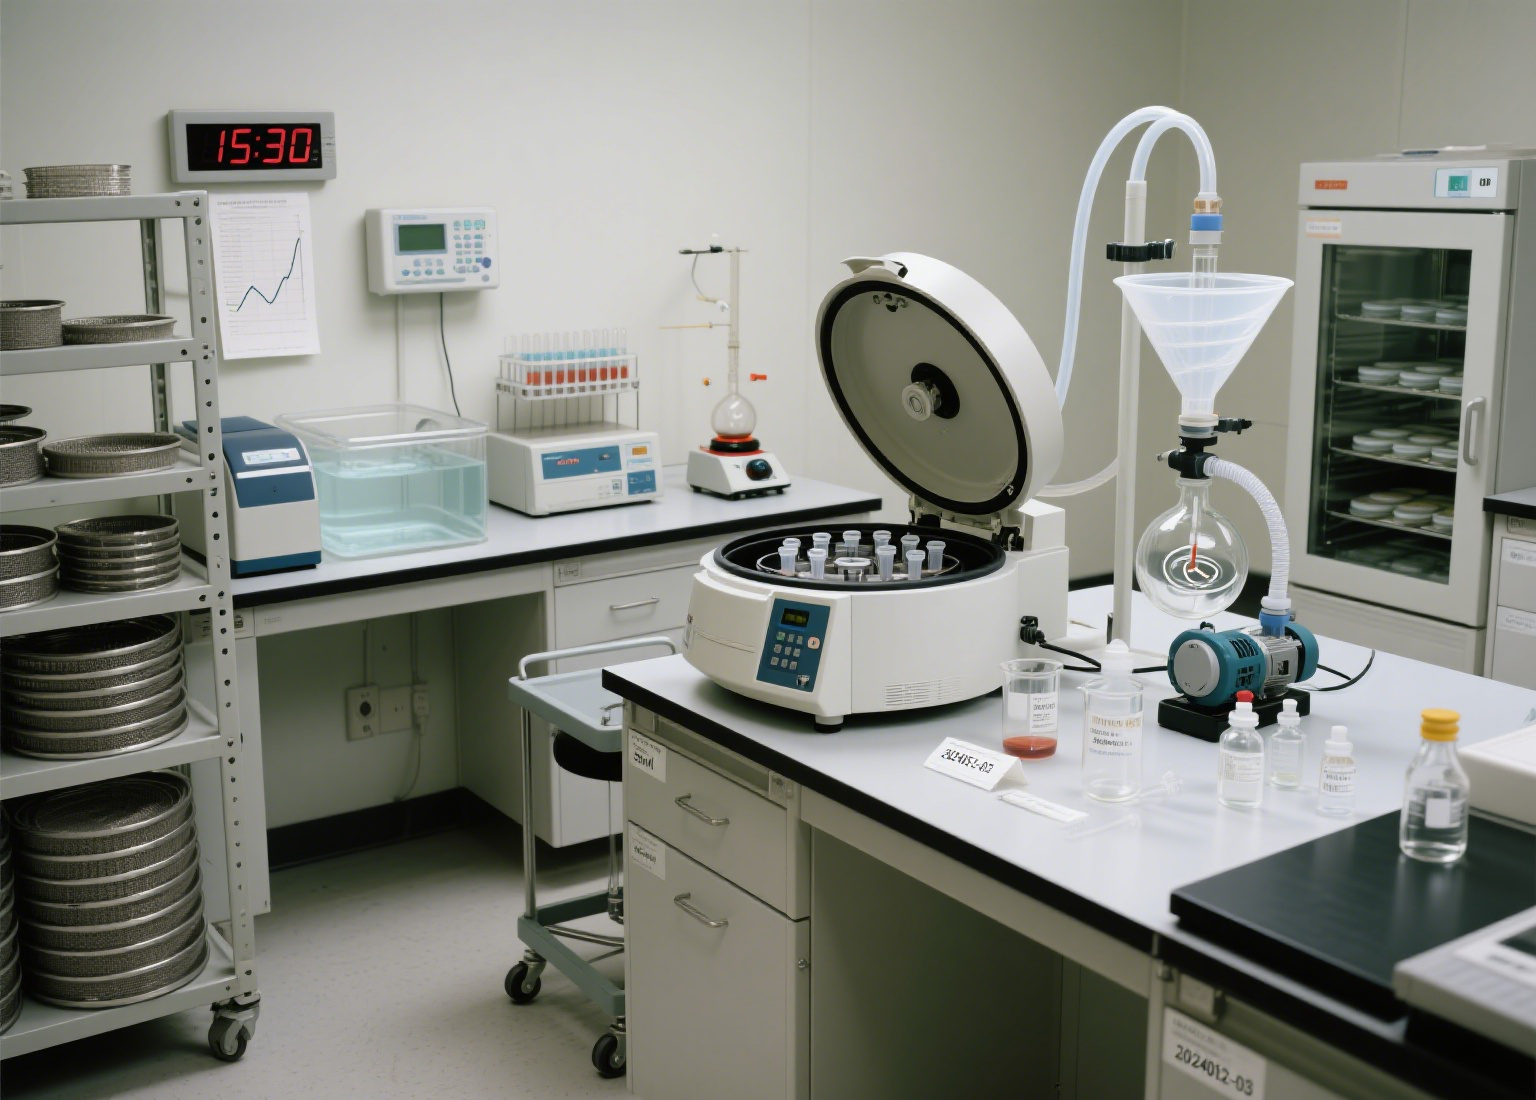
- General: balances, centrifuge, pipettes, oven, water bath.
- Microbiology: Class II BSC, autoclave, incubator, colony counter, fridge.
- Analytical: GC, HPLC, UV-Vis, AAS or ICP-OES, titrator.
- Physical: pH meter, refractometer, viscometer, texture analyzer, colorimeter.
- Support: fume hood, laminar flow, clean bench, ice maker, UPS.
In addition, prepare SOPs for each device. Consequently, results stay repeatable.
3) Utilities and Infrastructure
Stable utilities protect data. Therefore, plan these early.
- HVAC & Ventilation: steady temp and RH; safe exhaust for acids and solvents.
- Water: RO/DI loops for grade water; point-of-use polishers where needed.
- Power: clean circuits, surge protection, and UPS for critical analyzers.
- Gas: food-grade gases; manifold with leak checks; clear labels.
- Waste: chemical, biological, and sharps lines; logs for pickups.
- Clean Zones (optional): ISO-style areas for allergens or high-risk work.
Furthermore, map outlets and benches. Hence, cables stay neat and safe.
4) Safety and Compliance
Safety comes first. Yet, it can be simple.
- Follow ISO/IEC 17025, HACCP, and GMP where required.
- Place eyewash, showers, and extinguishers within quick reach.
- Label all bottles. Store acids, bases, and solvents apart.
- Wear PPE: coats, gloves, and goggles. Train new staff often.
- Use SOPs for hazards. Then, audit and improve.
Consequently, incidents drop. Also, audits get easier.
5) Digital & Data
Adopt a LIMS. Therefore, samples move with clear IDs.
- Track samples and tasks. Reduce paper.
- Store data in one place. Control versions.
- Export neat reports. Speed reviews.
As a result, teams align. Moreover, KPIs become visible.
6) Turnkey Path
Start small, then scale. The steps are clear.
- Define tests and volumes. Next, set zones.
- Select benches and storage. Then, add core tools.
- Install utilities. After that, verify safety.
- Write SOPs. Finally, train and qualify.
Tip: Review the plan twice a year. Thus, the lab stays current and compliant.