

CO2 Incubator Sterilization: Standard Procedures, Methods, and Best Practices
A CO₂ incubator provides a controlled environment of stable temperature, humidity, and CO₂ concentration for cell culture. However, this warm and moist environment is also ideal for the growth of bacteria, fungi, and mycoplasma. Regular CO2 incubator sterilization is therefore essential to ensure accurate and reproducible experimental results.
This guide explains the complete sterilization process, including preparation steps, common sterilization methods, post-sterilization verification, and daily maintenance practices.
1. Preparation Before CO₂ Incubator Sterilization
Proper preparation ensures both safety and sterilization effectiveness.
1.1 Remove and Clean All Internal Components
- Take out all shelves, water pans, brackets, and trays.
- Wipe visible residues using 75% ethanol or a neutral detergent.
- Place components in a biosafety cabinet and expose them to UV light for 30 minutes.
1.2 Turn Off Key Systems
- Turn off the CO₂ supply.
- Switch off power and allow the incubator to cool to room temperature.
- If the incubator is water-jacketed, empty the water jacket only if recommended by the manufacturer.
1.3 Clean the Interior Surfaces
Using sterile wipes soaked with neutral detergent:
- Gently clean the walls, corners, water reservoir, and door gasket.
- Avoid scrubbing sensors such as temperature probes, humidity sensors, and CO₂ IR detectors.
1.4 Prepare Necessary Materials
- 75% ethanol or sterile distilled water
- Recommended disinfectant (e.g., 0.1–0.2% peracetic acid solution)
- Sterile gloves and masks
- Clean, lint-free wipes
- CO₂ concentration and temperature calibration tools (if needed)
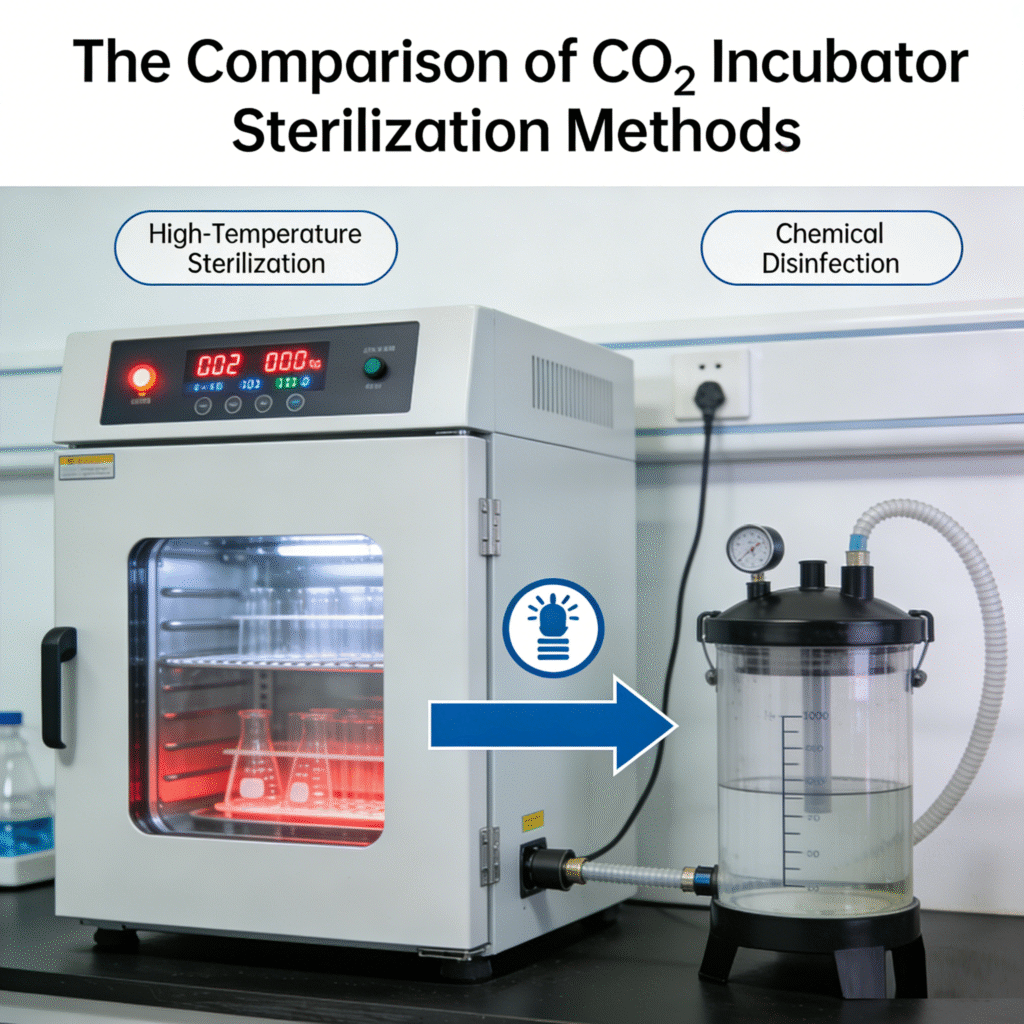
2. Common CO₂ Incubator Sterilization Methods
Different CO₂ incubators support different sterilization systems. Always follow the manufacturer’s manual.
2.1 High-Temperature Heat Sterilization (140°C Program)
Applicable to: Air-jacketed incubators with built-in heat sterilization systems.
This is the most reliable method for complete sterilization.
Procedure
- Reinstall the cleaned shelves and trays.
- Close the door tightly and ensure sealing.
- Activate the 140°C heat sterilization cycle (typically 2–4 hours depending on brand).
- Ensure CO₂ supply and humidity systems are turned off during the cycle.
- After sterilization, allow cooling to below 60°C before opening the door.
- Wipe the interior with sterile distilled water and fill the water reservoir if needed.
Advantages
- Kills bacteria, fungi, and mycoplasma effectively.
- No chemical residues.
Notes
- Water-jacketed incubators generally do not support high-temperature sterilization.
2.2 Hydrogen Peroxide (H₂O₂) Plasma Sterilization
Applicable to: High-end incubators or laboratories equipped with H₂O₂ sterilization systems.
This method uses vaporized H₂O₂ and plasma activation for low-temperature sterilization.
Procedure
- Clean and dry internal components thoroughly.
- Connect the incubator or chamber to the H₂O₂ sterilization device.
- Run a complete cycle including vacuuming, vaporization, plasma activation, and aeration.
- Total process duration: 2–3 hours.
- Check sterilization effectiveness using biological indicators (e.g., Geobacillus stearothermophilus spores).
Advantages
- Suitable for incubators with sensitive electronics.
- No high-temperature stress.
- Leaves no residue.
2.3 Chemical Wipe Disinfection (Routine Maintenance)
Not a replacement for full sterilization, but useful for short-term cleaning.
Procedure
- Wear sterile gloves and protective equipment.
- Use lint-free wipes soaked in:
- 75% ethanol, or
- 0.1–0.2% peracetic acid solution
- Wipe all internal surfaces including corners and door gaskets.
- Air-dry for 30 minutes with the door open.
- Restore normal temperature and CO₂ settings; wait 12 hours before use.
Limitations
- Cannot kill mycoplasma effectively.
- Does not reach internal piping or sensors.
3. Post-Sterilization Verification
After completing CO2 incubator sterilization, verification ensures that the incubator is safe for cell culture.
3.1 Microbial Detection
- Place sterile culture plates with media inside the incubator for 48 hours.
- Observe for bacterial or fungal growth.
3.2 Parameter Stability Check
Ensure:
- Temperature stabilizes at 37°C
- CO₂ concentration returns to 5%
- Humidity stabilizes (typically ≥90%)
- CO₂ sensors recalibrated if needed
3.3 Review the Sterilization Logs
Document:
- Date
- Sterilization method
- Operator
- Verification results
This is useful for troubleshooting and quality audits.
4. Daily Maintenance to Prevent Contamination
4.1 Weekly Tasks
- Wipe door gasket with 75% ethanol
- Check water quality (use sterile distilled water only)
4.2 Monthly Tasks
- Clean shelves and interior surfaces
- Replace humidity reservoir water regularly
4.3 Every 3–6 Months
- Replace HEPA or in-line air filters
- Perform CO₂ sensor calibration
4.4 Good Practices During Routine Use
- Minimize door-opening frequency
- Avoid overcrowding plates
- Keep spills cleaned immediately
- Always use sterile containers and gloves
Proper maintenance reduces the frequency of major sterilization cycles and protects cell culture quality.
Conclusion
Regular and standardized CO2 incubator sterilization is essential for maintaining a contamination-free environment for cell culture. Whether using high-temperature sterilization, hydrogen peroxide plasma, or chemical wipes, following validated procedures ensures reliability, consistency, and experimental accuracy. Combining sterilization with routine maintenance further extends equipment lifespan and reduces the risk of contamination.
CTA
Looking for reliable CO₂ incubators or professional sterilization-ready cell culture equipment?
Labvv offers high-performance CO₂ incubators designed for stable, contamination-free cell culture environments.
👉 Contact Labvv today to get a quote or request technical support.
Have questions or need expert guidance?
Reach out to our Labvv team !